But then I remembered this lovely little book my mother in law had given me when we had celebrated an early Christmas with Hubby's family.
Good Housekeeping's Cookie Swap Cook Book! And yes! They had a gingerbread cookie recipe. I was very excited.

After discovering just how many cookies the recipe in the book makes (108! yikes! Shyeah, Right! I wanted A cookie, let alone many cookies that would necessitate an entire rack) I decided to cut the recipe in half. But uh oh, 3 eggs can't be split in two. So split into thirds it is! Time to break out the calculator.
Once the calculations were all done, I started by pouring 1/2 cup molasses into a medium sauce pan on medium heat.

Next, add in 1/2 cup sugar and combine the two with a wooden spoon.

Now we add the spices that make gingerbread cookies so delicious: Ginger, Cinnamon, Cloves and Allspice.

Stir them all together and let the mixture simmer for a few minutes. And then add in 2 teaspoons baking soda.

Stir the baking soda in and don't be freaked out by the amount of foaming up that happens.


While that foams up, turn off the heat and roughly chop a stick of butter and add it to the mixture on the stove.

Stir the butter in until it melts and the mixtures goes from being foamy to sleek and glossy

Next crack an egg into a small bowl and using your spoon with the hot mixture, gently stir the egg. This will help temper the egg so you don't end up with scrambled eggs later when we add it to the warm mixture.


Finally add in the flour and stir to combine

Once the flour is all combined, pour the batter onto a sheet of plastic wrap

Wrap it up and put it in the refrigerator for a few hours (overnight is better)

Once the dough has chilled, it is time to roll. I always put a sheet of parchment paper on my work surface and then flour that. It makes clean up a whole lot easier.


The Moose is for Hubby since he loves Moose around Christmas
I (and Martha) highly suggest lining cookie sheets with more parchment rather than greasing the sheets. I also feel like it helps the cookies cook more evenly and create less spread.

Anyone wondering how to keep the cookies from losing their cute shapes and spreading into blobs as they cook (Hi Anna!) pay attention here.
Once you have the first cookie sheet loaded, stick it in the freezer

At this point, pre-heat your oven to 325 degrees and continue cutting cookies out. If you have room in your freezer, you can put subsequent sheets in the freezer. If like me, you are stocked up for the holidays; there was a sale on Smartones you decided to take advantage of; and/or your mother in law just brought 15lbs of sausage from Chicago for your husband, then you can put other sheets in the refrigerator and then cycle them through the freezer when the batch in the freezer goes into the oven.
Were you guys able to follow that logic?
You want the cookies to be in the freezer for 15 - 30 minutes before they hit the oven.
Another key is oven temperature. If your oven is not hot enough, the cookies will spread. Unfortunately, this is something you have to test out on your individual oven. This recipe calls for the oven at 325. My sugar cookies call for 350. But my oven runs a little cool as I discovered when making a recent batch of sugar cookies:

The cookie on the left is baked at 350, cookie on the right at 375. The difference in spreading is slight but important
Let the cookies bake for 10 minutes at 325 (or 350 if your oven runs cool) and then don't panic when you first take the cookies out of the oven. They will be a bit puffy. But I promise, they will deflate a bit.

After 5 minutes or so, move the cookies onto a cooling rack to continue cooling.

While the cookies cool, it is time to make the royal icing.
Start with 1lb or 4 cups powdered sugar and 4 teaspoons of meringue powder in the bowl of a stand mixer fitted with the paddle attachment. Stir them on low to combine.

Add in a scant 1/2 cup of warm water.


Mix on low until combined and then pump it up to medium/high until you form stiff peaks.

Since we're using only white icing today, we can skip the coloring step and move just to splitting the icing to outline and flood.
To prepare your frosting to outline, dollop a couple of spoonfuls into the center of some plastic wrap. Wrap it tightly by spinning the ends like the reverse motion of unwrapping a tootsie roll. Put the roll into a piping bag fitted with a coupler. Tie off the upper end with a twist tie and then snip the excess outside the coupler. Finally fit the tip on and you are ready to go.


I now use this technique for ALL detail frosting work because I think it really reduces the air bubbles and helps keep your lines smooth. Plus it makes clean up SUPER easy. Just untie the twist tie, pull out the baggy then separate the tip and coupler. No gloppy frosting everywhere.
Next I thinned out the rest of the icing for flooding.
I started by moving the icing to a small bowl and then using a spray bottle I spritz 5 blasts of water at a time, stirring in between until the consistency is like shampoo and the ribbon melts into the body of the icing in under 10 seconds. Finally I cover this with a damp paper towel and set it aside for 15-30 minutes while I'm outlining my cookies. When I'm ready to use the flood icing, I stir it gently to pop all the air bubbles that have come to the top of the bowl and then pour it into a squeeze bottle.
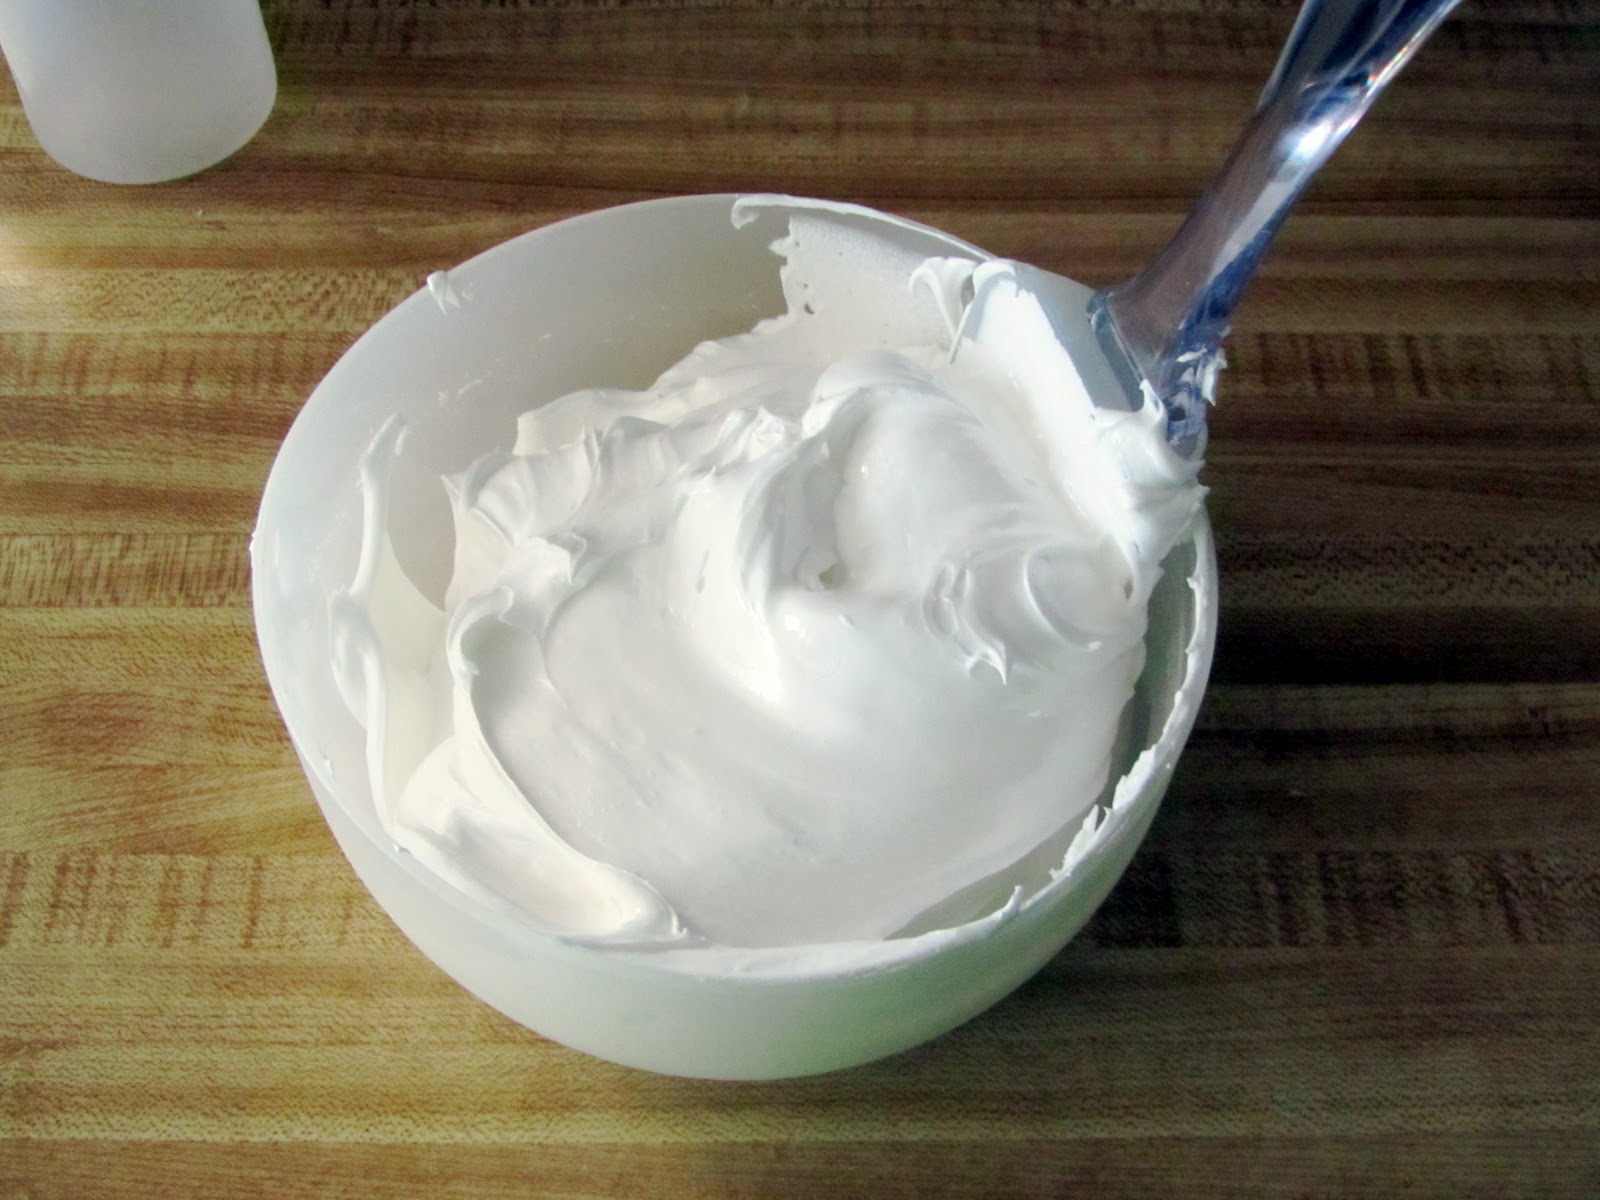


Halfway through the spraying and stirring process, I decided we're gonna need a bigger boat bowl
When it comes to gingerbread men, I'm a purist. I like just the outline, little dots for eyes and buttons and a smile.

Meanwhile, Hubby likes his gingerbread to be fully frosted. So for the moose, I outlined and then filled them in for him (I left the antlers unfilled to give them a little definition)

P.S. my piping on these cookies is a testament to the adage that practice makes perfect. I am not saying my piping was perfect on these little guys. Not at all. I still see plenty of imperfections. But if you could have seen the mess I made last year, you'd be shocked that these were made by the same person. Last year I had to individually bag each gingerbread man to help hide the squiggly lines and wonky smiles.
So all this is to say, just keep playing around with icing and soon you will figure out what works for you.
In the meantime, this little forest of gingerbread mooses and men are delicious no matter what the icing lines look like.

Shopping List for Gingerbread Cookies (adapted from Good Housekeeping) - makes 8 large (moose) and 16 small (men) cookies
- 1/2 Cup Molasses
- 1/2 Cup Granulated Sugar
- 1 1/2 Teaspoon Ginger
- 1 Teaspoon Cinnamon
- 1 Teaspoon Cloves
- 1 Teaspoon All Spice
- 2 Teaspoons Baking Soda
- 1 Stick Butter (salted)
- 1 Egg
- 2 Cups Flour
- Cookie Cutters
- Parchment Paper
Shopping List for Royal Icing
- 1lb (4 Cups) Powdered Sugar
- 4 Teaspoons Meringue Powder
- Scant 1/2 Cup of Warm Water
- 1 Tablespoon Corn Syrup
- Coupler, Wilton #2 tip, Disposable Piping Bag, Squeeze Bottle, Spray Bottle
I've got a lot more holiday treats to share with you. I've been stock piling them for the past 2 weeks. What is your favorite holiday treat? Any tips you've found for cutting/baking/icing cookies?
No comments:
Post a Comment