The weather has been extraordinarily glorious the last few days and to celebrate, I've spent the day today making iced tea and sitting on my balcony reading, soaking up the Vitamin D and airing out the house from all the winter mustiness.
In honor of the quickly approaching spring time, I thought I'd share this wonderful sun-flower cookie pop with you guys and hopefully it'll help brighten your day even if you haven't had to chance to get outside yet.

I'm not going to lie, this is a very Martha-esque process (just 87 easy steps!) and it will take you a few days. But there is plenty that you can do in advance and just assemble when you are ready. Or you can spend an entire long weekend making these cookies and then freeze them. Your choice. Either way, I beg you to make these. They are perfect in any season.
Start with my favorite sugar cookies dough (I made these with lemon flavor and I think it really goes along nicely with the flower motif) and some royal icing.
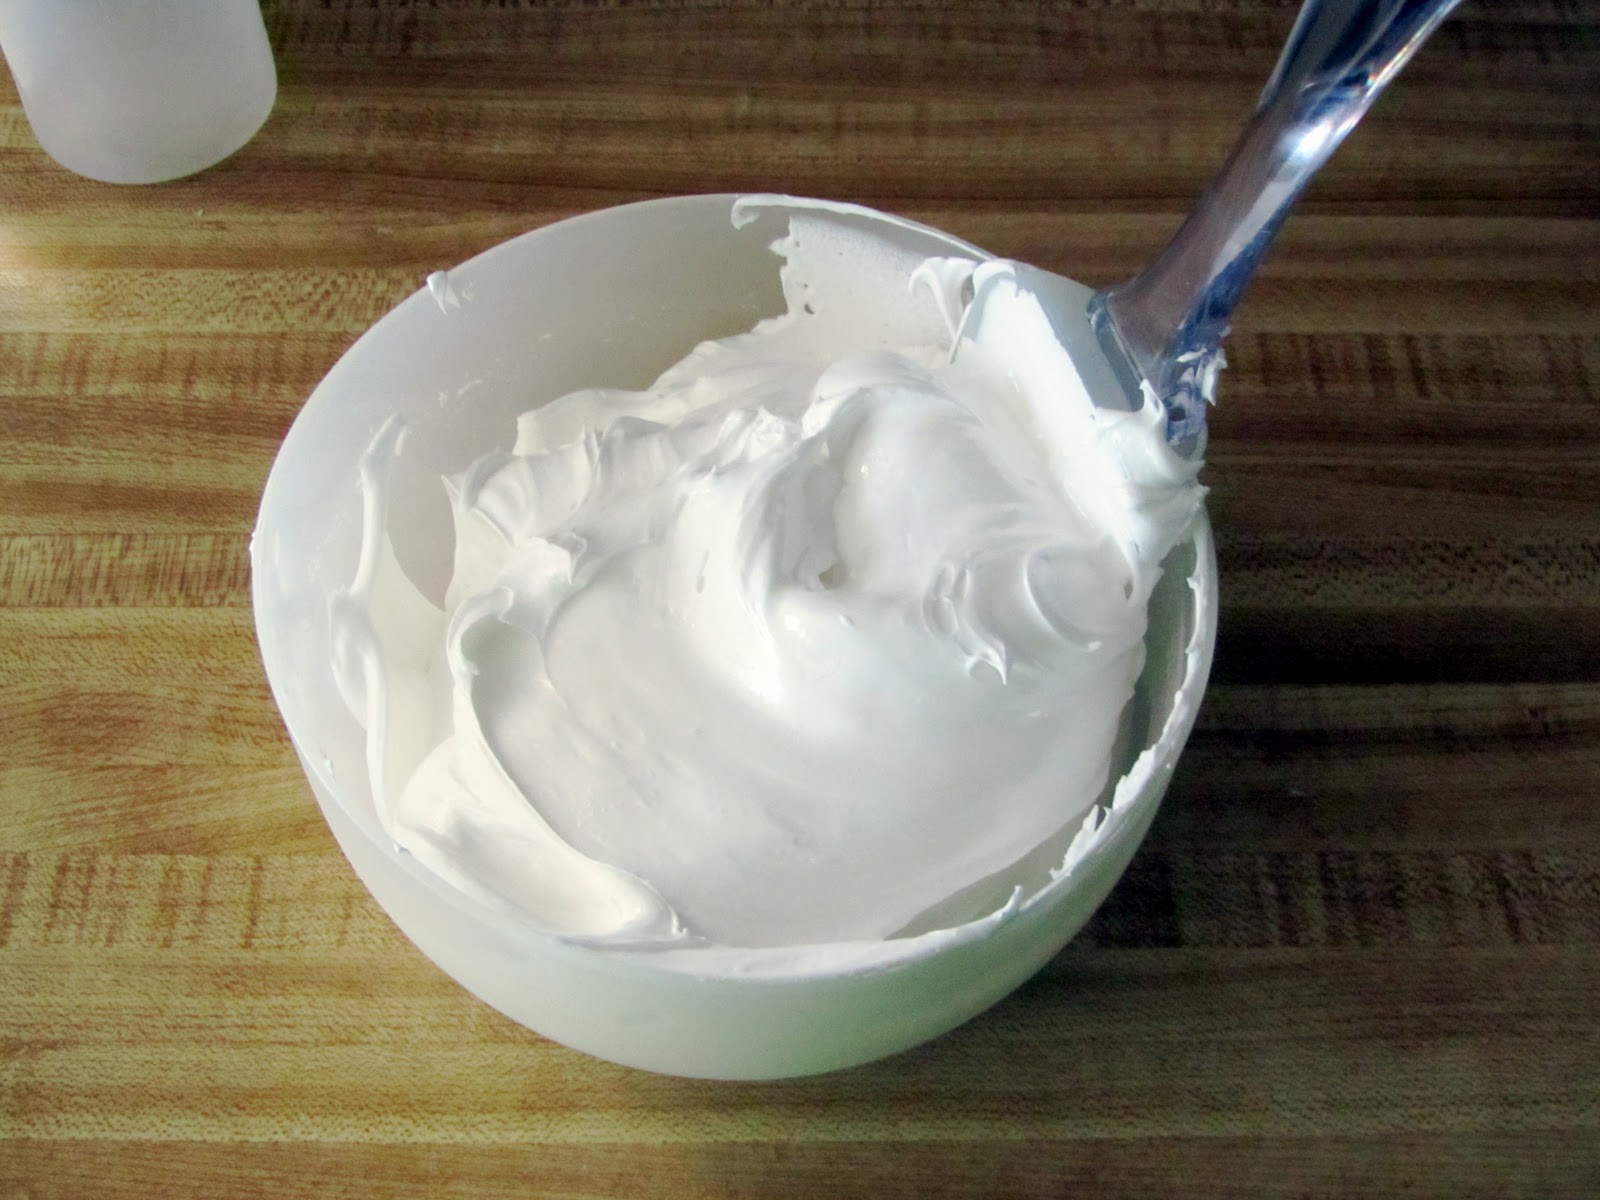
Tint a little of the icing brown and then the rest of it can be tinted sunflower yellow. To get the sunflower yellow, I used mostly yellow but then a drop or two of orange and one or two drops of brown. Just keep playing with the icing color until you get a nice warm, golden yellow. You'll be putting the yellow icing aside for a little while. To store it, I split it into an outline and a flood batch and then stored the outline icing all wrapped up in the piping bags in a pint glass in the fridge with a damp paper towel at the bottom of the glass. The flood icing was poured into a squeeze bottle and left on the counter.
For the first actual step in constructing these pretty sunflowers you'll need: a sheet of parchment paper; a small circle cookie cutter, an edible ink marker and brown royal icing loosened with a little bit of water - it shouldn't be a thin as flood icing, but you want it a little runnier than a standard outline.
Start by tracing circles onto the parchment paper.

With the parchment paper taped down, pipe the brown icing into circles following the guidelines you traced with the cookie cutter.
You need to leave these to dry for at least a day.

While the sunflower centers are drying, I went ahead and made myself some cute little leaves to tie the cellophane bag shut. If you don't plan on bagging your sunflowers, you can skip this step. But I think it really adds a little extra dimension to the flowers.
Using green pipe cleaners, I started by folding one in half in an wide open v- shape. Next, fold one side about half way down and wrap the tail around the stem and back up again to make a leaf shape. Repeat this on the other side. You'll be able to wrap this finished product around the cookie pop stem the same way you would use a twist tie.


When the brown circles are dry, use a small offset spatula to scrape them off the parchment paper.

Meanwhile, mix up a teaspoon of meringue powder and 1/2 cup water in a cup and prepare to add some glitter in the form of brown sanding sugar. Using a clean (food only) paint brush, apply the meringue liquid to a royal icing circle. Dunk the circle into the sanding sugar and place it back on the parchment paper to dry. You can see in the 3rd picture that my circles weren't COMPLETELY dry. It definitely made them a bit messier to remove from the parchment and I lost two of them to breakage while I dipped them - but that is why I always make a few extra.


While the centers continue drying, it is time to make the actual cookies (finally!) Following the instructions on inserting a pop stick into a cookie and a flower shaped cookie cutter from Wilton that I bought at Michael's gave me a couple dozen of these little cuties. Remember, always freeze/chill your cut out dough before baking and make sure you oven is hot enough to keep the spreading down.
Once the cookies were good and chilled, I laid them out on still more parchment paper to get ready for decorating.

After outlining each flower, fully fill each one with the yellow icing you had made the other day.

Using a toothpick, spread the icing to fill all the corners.

Now, very gently place one of you glittery brown circles in the center of the flower. Be careful with this step since once you place the circle, it is hard to move around without messing up the rest of the icing.

Now let the icing dry over night before bagging them up. I also went ahead and piped an outline around the flower giving the petals a little extra dimension. But, I forgot to take a picture of that since it was kind of spur of the moment.
Either way, once the cookies are dry, place each one in a treat sized bag and tie the bag right under the flower with one of the pipe cleaners.

And voila! The perfect bouquet to brighten up your spring day.

In honor of the quickly approaching spring time, I thought I'd share this wonderful sun-flower cookie pop with you guys and hopefully it'll help brighten your day even if you haven't had to chance to get outside yet.

I'm not going to lie, this is a very Martha-esque process (just 87 easy steps!) and it will take you a few days. But there is plenty that you can do in advance and just assemble when you are ready. Or you can spend an entire long weekend making these cookies and then freeze them. Your choice. Either way, I beg you to make these. They are perfect in any season.
Start with my favorite sugar cookies dough (I made these with lemon flavor and I think it really goes along nicely with the flower motif) and some royal icing.
Tint a little of the icing brown and then the rest of it can be tinted sunflower yellow. To get the sunflower yellow, I used mostly yellow but then a drop or two of orange and one or two drops of brown. Just keep playing with the icing color until you get a nice warm, golden yellow. You'll be putting the yellow icing aside for a little while. To store it, I split it into an outline and a flood batch and then stored the outline icing all wrapped up in the piping bags in a pint glass in the fridge with a damp paper towel at the bottom of the glass. The flood icing was poured into a squeeze bottle and left on the counter.
For the first actual step in constructing these pretty sunflowers you'll need: a sheet of parchment paper; a small circle cookie cutter, an edible ink marker and brown royal icing loosened with a little bit of water - it shouldn't be a thin as flood icing, but you want it a little runnier than a standard outline.
Start by tracing circles onto the parchment paper.

With the parchment paper taped down, pipe the brown icing into circles following the guidelines you traced with the cookie cutter.
You need to leave these to dry for at least a day.

While the sunflower centers are drying, I went ahead and made myself some cute little leaves to tie the cellophane bag shut. If you don't plan on bagging your sunflowers, you can skip this step. But I think it really adds a little extra dimension to the flowers.
Using green pipe cleaners, I started by folding one in half in an wide open v- shape. Next, fold one side about half way down and wrap the tail around the stem and back up again to make a leaf shape. Repeat this on the other side. You'll be able to wrap this finished product around the cookie pop stem the same way you would use a twist tie.


When the brown circles are dry, use a small offset spatula to scrape them off the parchment paper.

Meanwhile, mix up a teaspoon of meringue powder and 1/2 cup water in a cup and prepare to add some glitter in the form of brown sanding sugar. Using a clean (food only) paint brush, apply the meringue liquid to a royal icing circle. Dunk the circle into the sanding sugar and place it back on the parchment paper to dry. You can see in the 3rd picture that my circles weren't COMPLETELY dry. It definitely made them a bit messier to remove from the parchment and I lost two of them to breakage while I dipped them - but that is why I always make a few extra.


While the centers continue drying, it is time to make the actual cookies (finally!) Following the instructions on inserting a pop stick into a cookie and a flower shaped cookie cutter from Wilton that I bought at Michael's gave me a couple dozen of these little cuties. Remember, always freeze/chill your cut out dough before baking and make sure you oven is hot enough to keep the spreading down.
Once the cookies were good and chilled, I laid them out on still more parchment paper to get ready for decorating.

After outlining each flower, fully fill each one with the yellow icing you had made the other day.

Using a toothpick, spread the icing to fill all the corners.


Either way, once the cookies are dry, place each one in a treat sized bag and tie the bag right under the flower with one of the pipe cleaners.

And voila! The perfect bouquet to brighten up your spring day.