Showing posts with label cake. Show all posts

Tuesday, March 20, 2012

Custard? Good. Jam? Good. Meat? Gooood! (English Trifle)

If you can hear the word "Trifle" and not think of that episode of "Friends" where Rachel makes a traditional English Trifle which includes a layer of lady fingers, a layer of jam, fresh custard - which she made from scratch - and ground beef mixed with peas and onions, well then I don't even know what to do with you.  Here... watch it and then we can proceed.

Done?  Ok, let's go.

Since both my sister and I got married in 2010, we had to do some finagling with our family's holiday celebration schedule.  We knew one thing, that we wanted to make sure that we still got to celebrate our holidays together so we proposed an alternating schedule with our husbands' families.  In 2010, we celebrated Thanksgiving with our respective in-laws and Christmas with our family.  This means that in 2011, we celebrated Thanksgiving with our family and Christmas with the in-laws.  My mother does not react well to this situation.  So in an effort to appease everyone, we agreed that we would gather at my parents house to celebrate Christmas on the 26th.

I of course volunteered to bring the dessert.

And since December 26th is celebrated as Boxing Day in Great Britain, I decided to make a Traditional English Trifle as our dessert.

My mom used to make trifle for parties in the late 80s and I will never forget the joy of seeing that trifle bowl on the table and knowing that I would get to snag a few scraps of yellow cake as she cut it up to fit into this tasty layered dessert.  As I progressed into adult life, the thought of yellow cake combined with fruit and whipped cream filled me with great joy.  What I'm saying is, how I haven't made myself a Trifle yet is beyond me.

We're going to start the night before you need the Trifle with a pre-cooked yellow cake.  I used this recipe, but since you are going to cut it up, let it get stale and layer it with delicious jam and cream, you could easily use a boxed mix of your choice.  I baked mine in two round cake pans so that it would fit better into the trifle bowl, but my mom always baked hers in 1/4 sheet pans.  Made for more scraps.  I was always a fan of more scraps.


Cut the cakes into rough squares and lay them out on a baking pan to dry out.


I also went ahead and put the first layer into the trifle bowl.  I used the curved edges along the border so that each layer will fully show from the outside.  I then filled in the center with a random center piece.  


See how the layer is nice and even and the edges all touch the glass?  That is why I chose to use round cake pans.  Now you could be asking, why didn't I just use cake pans the size of the trifle bowl for a solid layer?  Well there are three main reason: a) The trifle bowl gets a bit wider as it goes up, so that would have required three different size pans; 2) You actually want the grooves and breaks between the pieces for the jam to settle in; d) 8" pans are what I had, so 8" pans are what I used, done and done.


Next grab your closest bottle of booze.  The traditional choice is cooking sherry but I had brandy on hand from some sangria we'd made at the end of the summer.  So brandy is what I used.  Pour some into a small cup and grab a pastry brush.


Apply the brandy over the cake pieces with the brush.  You can go as heavy or as light as you are comfortable with.


Finally, place clean dish towels over the soaked cake pieces and let them sit over night.  This will allow the alcohol to evaporate and for the flavor to settle in.


While the cake is setting, we're going to move on to the custard.  For my Trifle, I decided I didn't want a super custard-ey filling, instead I opted to use a light and delicious pastry cream.  Because I can.

Start by bringing milk and 1/4 cup of sugar to a simmer over medium heat.


When the milk and sugar have come to a simmer, add some vanilla bean paste.  Give it a gentle stir and remove the pot from the heat.


Meanwhile, combine another 1/4 cup of sugar with 6 egg yolks.


Whisk them together until they are light yellow and frothy. 


Add in the flour and whisk just to combine.


Next, we need to temper the eggs by adding 1/2 cup of the milk mixture into the egg mixture all the while whisking swiftly.


Whisk for one minute to full combine the milk with the eggs.


Finally, pour the egg mixture into the pan containing the rest of the milk mixture and return it to medium heat.


Using a spatula, gently stir the cream for about a minute until it fully thickens to the point where you can dip a small metal spoon into the cream and it doesn't drip.


Remove the cream from the heat, add in the butter and stir until it is all melted and combined.  Avoid the temptation to lick the spoon and then finish off the potful of this sweet and delicious cream.


Pour the cream into a bowl and cover it with plastic wrap pressed right up against the top so that a skin doesn't form.  Put the bowl in the refrigerator and let it chill over night.


Fast forward to the next day, it is time to assemble.

Start by pulling the cream out of the refrigerator and giving it a gentle stir.  Next, pour a jar of seedless raspberry jam into a bowl and give it a stir to smooth it out.


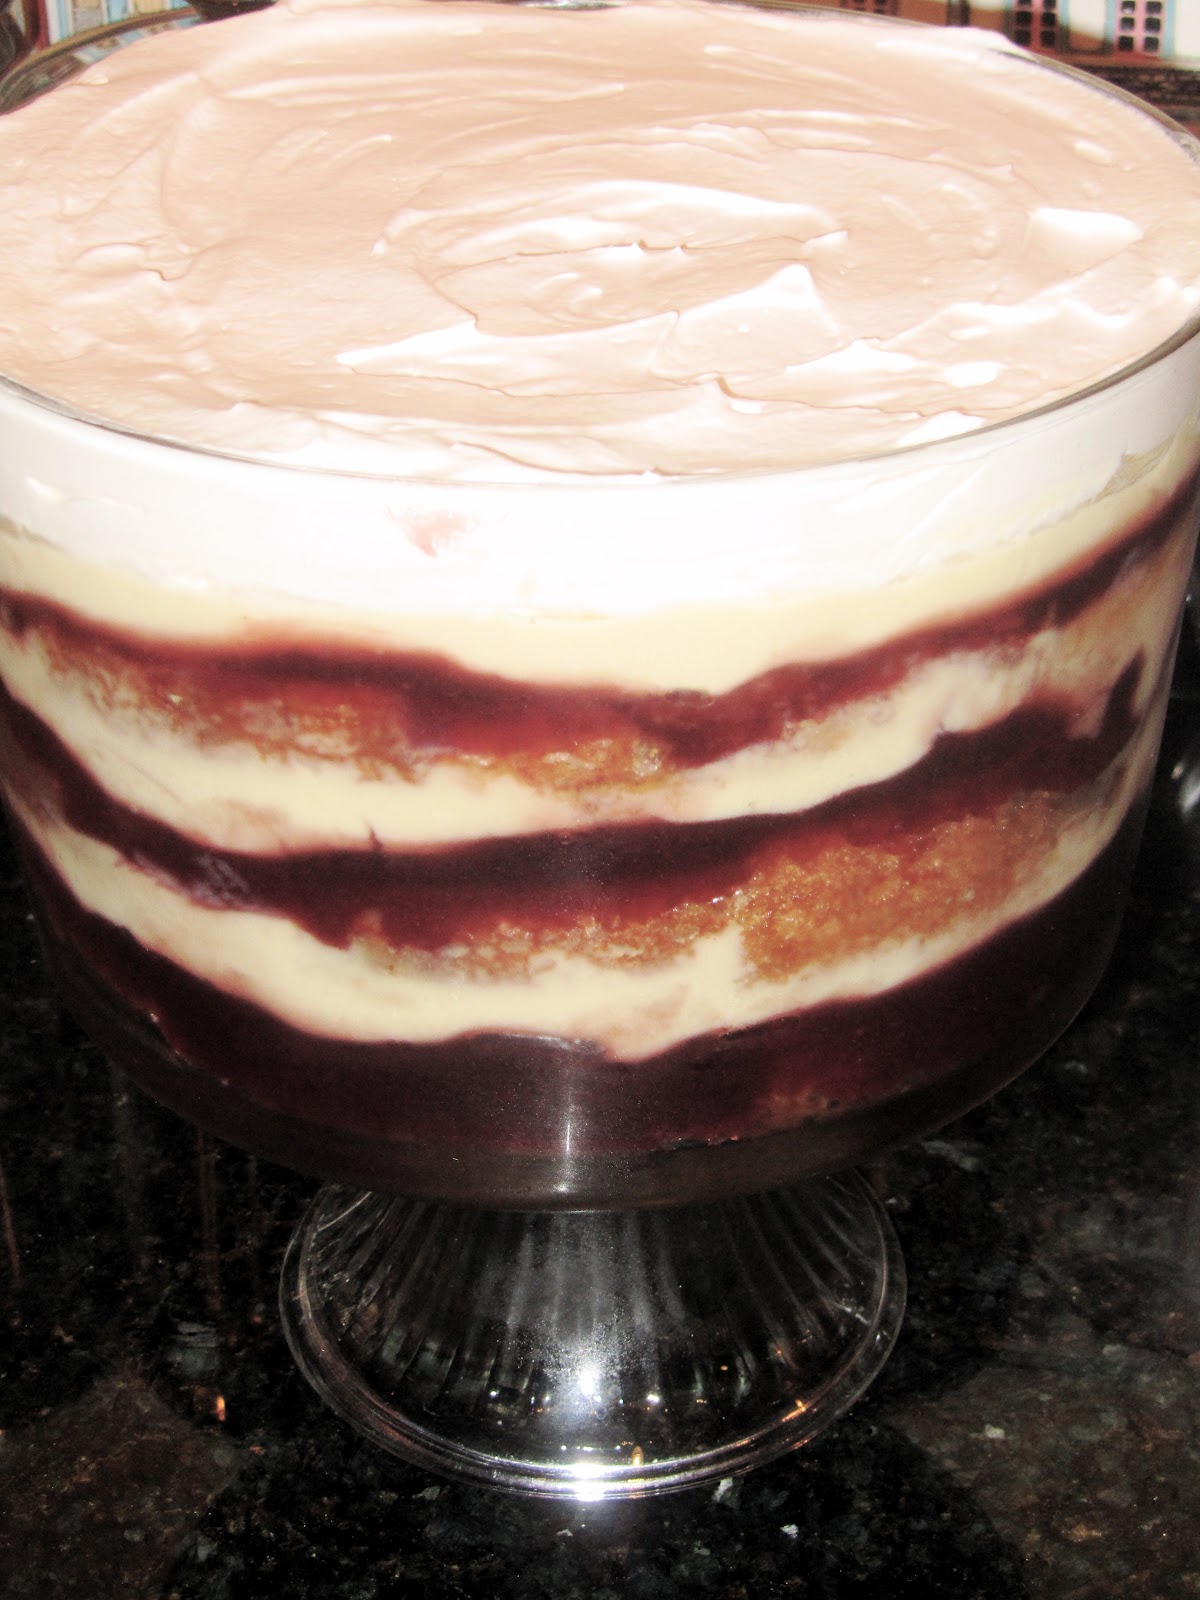
To assemble, spread some of the jam over the first layer of cake.  Make sure to spread all the way to the outside so that you'll see all the layers from the side.  Also make sure to fill in all the gaps in the middle.


Next, layer on a third of the cream.


On top of the cream, add another layer of cake.  


Lather, rinse, repeat for three total layers. 


Cover the top layer with plastic wrap - once again pressed into the cream to keep a skin from forming - and place it in the refrigerator until it is time for the party. 


When you are ready to serve, top the Trifle with some fresh whipped cream just to the top of the bowl. 


Delicious!


To serve, spoon out pieces and enjoy.


Shopping List for Traditional English Trifle - Serves about 20 people

  • Cooked Yellow Cake
  • Cooking Sherry or Brandy to Taste
  • 12oz Seedless Raspberry Jam
  • Vanilla Bean Pastry Cream
    • 2 Cups Milk
    • 1/2 Cup Sugar (divided)
    • 1 Tsp Vanilla Bean Paste
    • 6 Egg Yolks
    • 4 Tablespoons Flour
    • 4 Tablespoons Butter (regular salted stuff)
Enjoy!


Friday, February 10, 2012

Dark Chocolate, Raspberry Tuxedo Cake - Be Still My Heart

Wooo I'm back y'all! Well kind of. My Mac is still mostly dead* - CPR failed and I'm currently trying to find a Miracle Max to create a chocolate coated pill so it can return to it's true love (me) (and if you don't know what I'm talking about, it will make me very very sad.) (ahem) Speaking of true love, we are swiftly approaching the lovey-est of all Hallmark Holidays**.  Valentines Day! And while I don't 100% buy into the whole creation of a holiday that needs a specific gift, I do adore thematic cooking.  So I'm kind of conflicted.  


Speaking of conflicted... no, not really, I had just kind of babbled my way into a corner and couldn't think of a segue.... let's talk cake!

I made this cake recently for my father's birthday, but the entire time I couldn't help think about how wonderful this cake would be for a nice sophisticated Valentine's Day celebration.  With the moist chocolate cake, rich dark chocolate flour-less cake layer and light, fresh raspberry filling, how could you go wrong? 


Let's get started shall we?

Start by combining the flour, sugar, baking soda, salt and cocoa powder.


You could sift the dry ingredients together, or you could whisk them until they are all combined and all the clumps of cocoa powder are broken up.


Set the dry ingredients aside and start working on the wet ingredients.  Add the vegetable oil to the buttermilk, followed by the eggs, vanilla extract and white vinegar.


Whisk the wet ingredients until they are all combined and then pour the wet mixture into the dry.


Mix the batter until it is just barely combined and then divide the batter into two greased and "floured" 9" cake pans.  I opted to use cocoa powder to coat the pans because the cake is chocolate, but it really doesn't make much of a difference.


Put the pans in the oven for 25 -30 minutes at 350 degrees.  You really want to watch these since chocolate cake can burn pretty easily and dry out.  And nobody wants dry cake do you? No! So I'd say start checking on them around 20 minutes and if you pull the toothpick out and it is just a little covered with crumbs, err on the side of being slightly under cooked vs. over cooked and dry.

While the cakes are in the oven, I started working on the flour-less chocolate cake layer.  I'm going to be honest with you, I love brownies, and flour-less chocolate cake is really just a really dense, large, brownie.  My family went on a cruise for New Years and one day at the lunch buffet they had flour-less chocolate cake.  I about died.  I may have skipped lunch and just had the cake.  And since I'm being honest, I feel compelled to admit I may have had seconds.  And thirds.  It was during this final tasting that my sister Jessi pointed out that I should make a cake that incorporated a flour-less chocolate cake as a layer.  And she was right.  I couldn't stop thinking about the delicious surprise of eating a piece of cake with slice of the flour-less chocolate cake right in there.

And the rest is history!

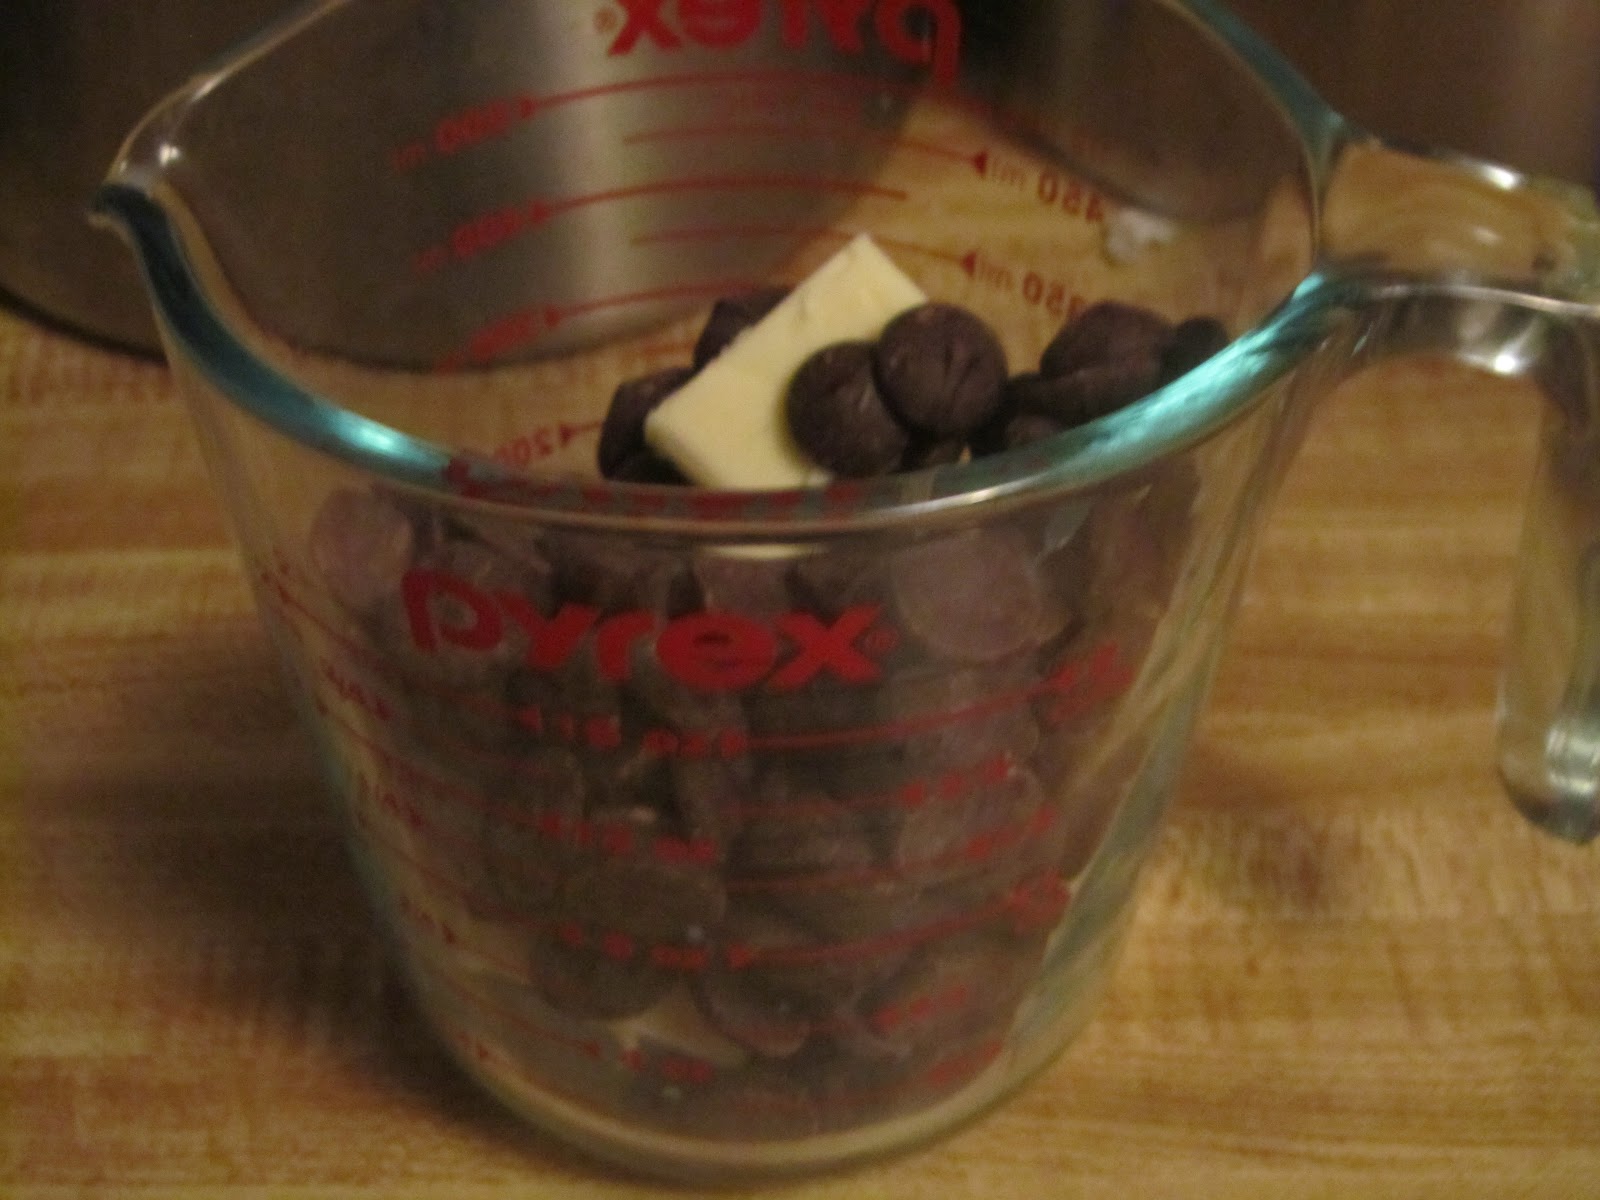
Start by melting some dark chocolate chips with an equal amount of butter.


Meanwhile, combine sugar and cocoa powder.

Pour the melted chocolate into the sugar/cocoa mixture.


Add in vanilla extract and stir it all to combine and to help cool the chocolate down.


Next crack your eggs directly into the bowl you melted the chocolate in.  This will allow you to mix the eggs with the slightly warm chocolate to help temper them before adding them to the rest of the mixture.


Pour the eggs into the chocolate mixture and stir just until combined.


Pour the batter into a greased and floured 9" pan.  I was planning on using cocoa powder to coat the pan the way I did with the chocolate cakes - but I ran out.  It ended up just fine since this cake is just going to be a layer in the bigger cake and won't be seen.  If you decide to just make the flour-less cake, definitely use the cocoa powder so that your beautiful dark chocolate cake won't be coated in white.


Bake this for 30 minutes in a 300 degree oven.

All right, we're getting close.  You want all the cake layers to be fully cooled before you continue.  In fact, I typically put my cake layers in the freezer before stacking so that they don't get as crumbly.  While everything is chilling, go ahead and pull a block of cream cheese out of the fridge.  We need it to be room temperature to make the raspberry filling.

When you are ready to assemble all your layers, it is time to make the raspberry mousse. 

Begin by creaming the room temperature cream cheese. When the cream cheese is good and smooth, add in the seedless raspberry jam and mix again on medium until they are combined, smooth and glossy. Finally fold in the cool whip a little bit at a time until it is all combined.


Lovely.  Again, this alone is divine.  I can imagine serving this in a nice martini glass with some dark chocolate shavings on top.  Yum.  Or, oooh! In a dark chocolate candy shell! Can you tell I love the combination of raspberry and dark chocolate?

So let's stack this bad boy.

Start with your chocolate cake, flat side down.  Pipe on an even layer of raspberry mousse.  Next add on the flour-less chocolate cake layer.  Add another layer of the mousse and top that with the final cake layer with the flat side up.  I then took the rest of the mousse and did a quick crumb coat.


While this bad boy spends some time in the freezer firming up, I got to work making my favorite cooked frosting and sorting out my decorations.  I recently discovered these amazing little treats.  Dark chocolate covered acai berries and I knew they'd be the perfect accent border at the bottom of my cake.  And with the heart healthy dark chocolate and the antioxident rich acai, they are practically health food.  Almost.  Maybe? Ok fine! They aren't.  But I'm going to keep telling myself they are.


Half way through the chilling process, I checked on my cake and discovered it lilting a bit.  Imagine my horror.  Apparently the flour-less cake layer was too heavy for the mousse.  So I also inserted a border of dark chocolate covered acai berries to each of the mousse layers for support.  Pretend there  is a picture of that here.

When the frosting is made, and the cake is chilled, go ahead and frost the cake.  You don't have to worry about getting the frosting impeccably smooth because of what is about to happen.


Melt together a cup of dark chocolate chips and about 1/2 cup of milk.  Meanwhile, place the berries in a nice border around the bottom of the cake.  I went through and selected all the smaller flat berries so they would be a consistent size.


By the time you finish the border, you chocolate ganache should be done.  And then you're going to do this.


Oh dear me.  There is nothing finer than seeing molten chocolate drizzle onto a cake and ooze down the sides.  Amazing.  The drips will stop on their own as the chocolate cools.  And voila! A delicious, rich cake that looks just as good as it tastes.


As I mentioned a few thousand words ago, I made this cake for my dad's birthday so the black and white style of a tuxedo cake was just perfect for a manly birthday.  But if I were making this for Valentine's Day, I would totally tint the cooked frosting a nice pink.  Or you could even do something like this:


Yes, I made a couple of cupcakes out of the chocolate batter when I was baking the cakes and then filled them with the raspberry mousse. Why do you ask? To top the cupcakes, I dipped them into the dark chocolate ganache and then dragged a toothpick through a little drop of white chocolate ganache before it sets  for a super cute Valentine's Day treat.

Shopping List for Chocolate Cake

  • 2 1/2 Cups All Purpose Flour
  • 2 Cups Sugar
  • 4 Tbsps Cocoa Powder
  • 1 Tsp Baking Soda
  • 1 Tsp Salt
  • 1 Cup Buttermilk
  • 1 Cup Vegetable Oil
  • 2 Eggs
  • 1 Tsp Vanilla Extract
  • 1 Tbsp Vinegar

Shopping List for Flour-less Dark Chocolate Cake

  • 1/2 Cup Dark Chocolate Morsels
  • 1/2 Cup Butter
  • 3/4 Cup Sugar
  • 1/2 Cup Cocoa
  • 3 Eggs
  • 1 Tsp Vanilla Extract

Shopping List for Raspberry Mousse

  • 8oz Cream Cheese
  • 1/2 Cup Seedless Raspberry Jam
  • 16oz Whipped Topping
Shopping List for Cooked Frosting
  • 5 Tbsp All Purpose Flour
  • 1 Cup Milk
  • 1 Tsp Vanilla Extract
  • 1 Cup Butter
  • 1 Cup Sugar (granulated not powdered)
Shopping List for Chocolate Ganache
  • 1 Cup Dark Chocolate Morsels
  • 1/2 Cup Milk
  • 1 Tsp Vanilla Extract
  • Pinch of Salt

Enjoy!

* No Mac means picture quality is straight from my camera with no editing at all and while I like the idea of a cinema verites style kitchen where you can see everything true to form, I also am not using the BEST of equipment.  I love my point and shoot camera for visiting Disney World and taking pictures of my dogs sleeping on the couch, but it isn't always the best for kitchen shots. So sorry in advance.  


** I don't mean to sound like a bitter spinster but really I would much prefer for Hubby to bring me flowers on a random Thursday (as he did last night) rather than dutifully paying extra for the same flowers on a specific day because he's being told to.